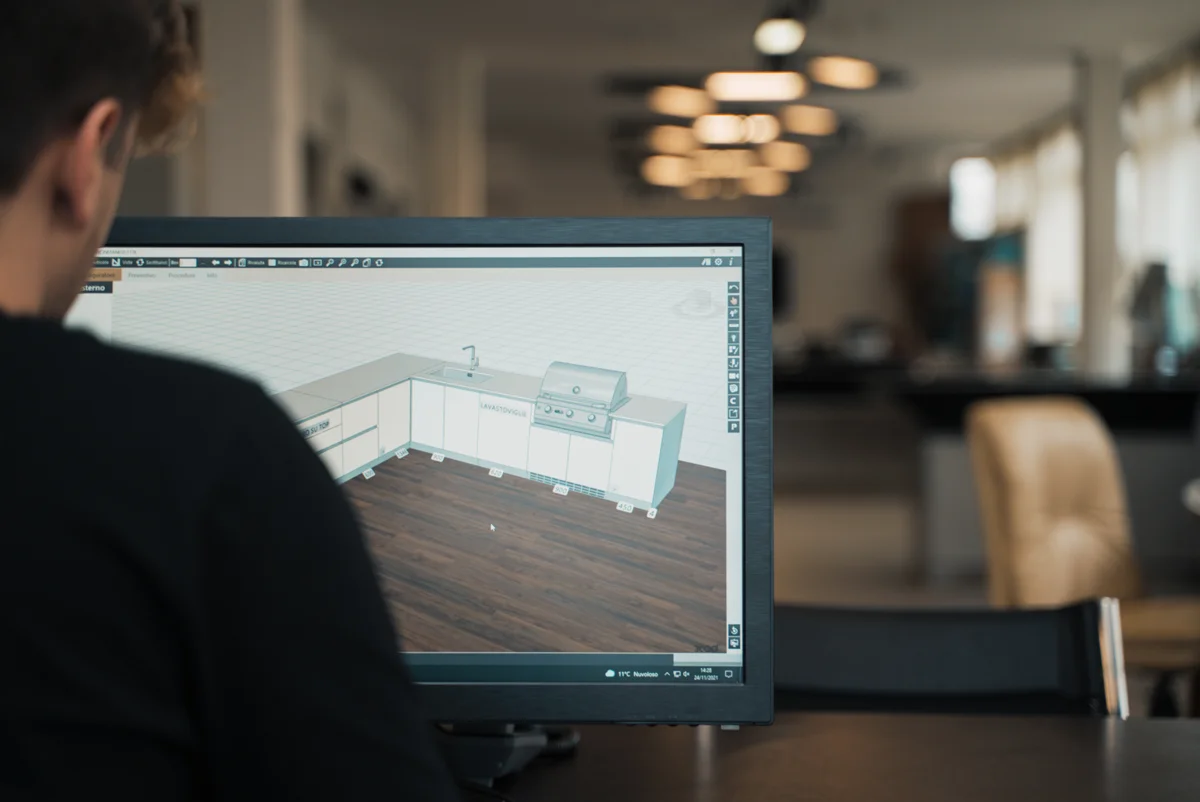
In the world of design and outdoor furnishing, garden kitchens play a leading role, offering a cozy and functional environment to enjoy open spaces at their best. However, building a stainless steel outdoor kitchen similar to those sophisticated ones produced by OF Outdoorkitchens, turns out to be an almost Herculean task for DIY enthusiasts. The process that goes from treating the steel to cutting and assembling the components requires advanced technical skills, in addition to a department of engineers and architects, making this option inaccessible for most DIY fans.
But all is not lost for those who wish to enrich their garden with an outdoor kitchen. The DIY solution, although far from the design and prestige of a professional kitchen, is realized in the construction of brick outdoor kitchens, a choice not only aesthetically pleasing but also feasible with a bit of effort and the right knowledge. Here is a step-by-step guide to creating your outdoor culinary corner.
Planning and drafting the project you want to execute
The first step in building a brick outdoor kitchen is planning. Determine the ideal location in your garden, taking into account sun exposure, wind, and proximity to the house. Also consider accessibility and the space needed to move comfortably around the cooking area. Once the location is defined, draw a detailed project, including dimensions, the arrangement of elements (such as grill, sink, worktop), and the type of materials to be used.
Choosing materials for building a DIY outdoor kitchen
For a brick kitchen, the most common materials for building a DIY outdoor kitchen are bricks, concrete blocks, and stone. Each material has its aesthetic and practical peculiarities. Bricks are versatile and offer a classic look, concrete blocks are economical and easy to work with, while natural stone is durable and uniquely beautiful. The choice depends on the desired style and available budget.
Solid foundations
Before starting construction, it’s essential to prepare a solid foundation. Dig the ground to the appropriate depth (at least 20-30 cm) and fill it with a layer of gravel to ensure effective drainage. Above the gravel, pour a layer of concrete to create a solid and level base on which to build the kitchen.
Building the structure
With the foundation ready, you can begin constructing the structure of your kitchen. If using bricks or concrete blocks, apply mortar between each element carefully, ensuring the rows are straight and level. For corners and connections, use custom-cut pieces. If opting for stone, the process may be more complex and might require the help of a professional for an optimal result.
Installing BBQ and sinks
Once the structure is ready, it’s time to install functional elements like the grill and sink. For the grill, you can choose between prefabricated models or build a custom one integrated into the masonry. Ensure it is well anchored and stable. For the sink, you must prepare the plumbing connections in advance, considering the water supply and wastewater management.
Finishing and personalization
The last step involves the finishing and personalization of your outdoor kitchen. Choose a weather-resistant worktop, such as marble, quartz, or porcelain stoneware, and consider adding built-in shelves or cabinets for storage. Don’t forget the lighting, crucial for creating the right atmosphere and for cooking even after sunset.
Creating a DIY brick outdoor kitchen is a challenging project that might make you fall in love with outdoor living. With a brick kitchen, you might not only add a touch of design to your outdoor space but also create a place of conviviality to share special moments with family and friends. If instead, you feel ready to make a real quality leap for your home, forget bricks and concrete and turn to us!


